Gluing jewelry might sound tricky, but it’s easier than you think! Whether you’re fixing a broken earring or attaching a charm to a bracelet, knowing the right techniques can save both time and money. In this guide, we’ll walk you through everything you need to know about how to glue jewelry securely and effectively.
Let’s face it—jewelry mishaps happen more often than we’d like to admit. A dangling charm falls off, a pendant breaks loose, or maybe your favorite pair of earrings just isn’t holding up anymore. Instead of tossing them aside or heading straight to the jeweler, why not try fixing them yourself? With the right tools and techniques, you can bring your jewelry back to life in no time.
This article is packed with tips, tricks, and expert advice to help you master the art of gluing jewelry. From selecting the best adhesive to avoiding common mistakes, we’ve got you covered. So grab your supplies, and let’s dive in!
Read also:Bronco Grave Yard Unearthing The Legacy Of A Classic Icon
Table of Contents
- Choosing the Right Glue for Your Jewelry
- Tools You’ll Need to Get Started
- Preparing Your Jewelry for Gluing
- How to Apply Glue Correctly
- Avoiding Common Mistakes
- Gluing Different Types of Jewelry
- Pro Tips for Perfect Results
- Ensuring Long-Lasting Results
- Safety Precautions When Working with Adhesives
- Conclusion: Your New Jewelry Repair Skills
Choosing the Right Glue for Your Jewelry
First things first—you can’t just grab any old glue from your craft box when working on jewelry. Different materials require different adhesives, and using the wrong one could damage your piece or make it look messy. Let’s break down what you need to consider:
Factors to Consider
- Material Compatibility: Is your jewelry made of metal, glass, plastic, or something else? Some glues work better on specific surfaces.
- Flexibility: If you’re dealing with moving parts (like a bracelet charm), you’ll want a flexible adhesive that won’t crack or break under stress.
- Visibility: For transparent pieces like crystals or beads, you’ll need a clear glue that won’t show through.
Some popular options include:
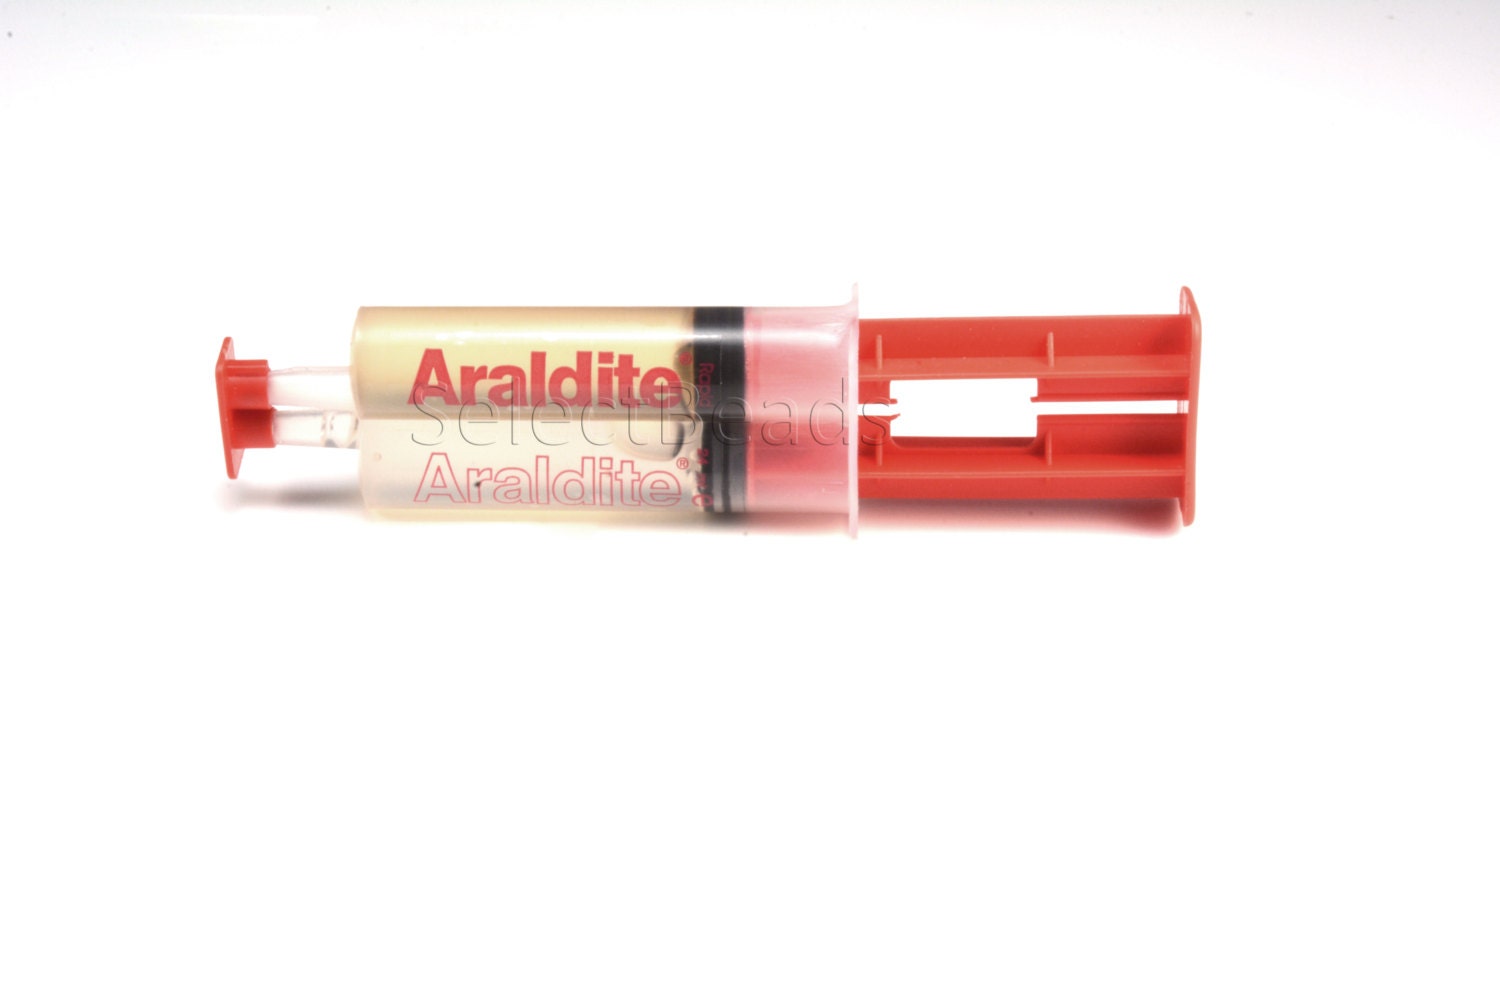
- Epoxy glue – Great for strong, permanent bonds.
- Jewelry glue – Specifically formulated for delicate repairs.
- Super glue – Quick-drying and effective for small fixes.
Tools You’ll Need to Get Started
Before you start gluing, gather these essential tools:
- Adhesive of choice (epoxy, super glue, jewelry glue)
- Cotton swabs or toothpicks for precision application
- Isopropyl alcohol for cleaning surfaces
- Clamps or tweezers to hold pieces in place
- A clean workspace to prevent dust or debris from ruining your project
Having the right tools makes all the difference. A little prep work now will save you headaches later!
Preparing Your Jewelry for Gluing
Preparation is key when it comes to successful jewelry repairs. Follow these steps to ensure a clean, secure bond:
Start by cleaning the surface thoroughly. Use isopropyl alcohol and a lint-free cloth to remove any dirt, oils, or residue. This step is crucial because even tiny particles can interfere with the adhesive’s effectiveness.
Read also:Discover The Magic Of Temporary Hair Color Spray Blonde A Complete Guide
Once the surface is clean, let it dry completely before proceeding. Moisture can weaken the bond, so patience pays off here.
How to Apply Glue Correctly
Now that your jewelry is prepped, it’s time to apply the glue. Here’s how:
- Apply a small amount of adhesive to one surface. A little goes a long way, so don’t overdo it.
- Press the two surfaces together gently, ensuring they align perfectly.
- Hold the pieces in place for a few seconds to allow the glue to set initially.
- Use clamps or tweezers to keep everything aligned while the glue dries completely.
Remember, most adhesives require at least 24 hours to fully cure, so avoid handling the jewelry during this time.
Avoiding Common Mistakes
Even with the best intentions, mistakes happen. Here are some common pitfalls to watch out for:
- Using too much glue, which can create unsightly drips or weaken the bond.
- Not cleaning the surfaces properly, leading to a weaker connection.
- Not allowing enough drying time, which can cause the pieces to shift out of place.
By staying mindful of these potential issues, you’ll achieve better results every time.
Gluing Different Types of Jewelry
Not all jewelry is created equal, and neither are their gluing requirements. Let’s explore some specific scenarios:
Earrings
For post-style earrings, a tiny dot of super glue works wonders. Just be careful not to get glue on the back of the earring, where it might irritate your skin.
Bracelets
Charm bracelets often benefit from flexible adhesives, as they move around frequently. Epoxy glue is a great option here.
Pendants
When reattaching a pendant to its chain, precision is key. Jewelry glue is ideal for this task, as it’s designed to handle delicate repairs.
Pro Tips for Perfect Results
Here are a few insider secrets to take your jewelry gluing skills to the next level:
- Practice on scrap pieces first to get a feel for the adhesive.
- Work in a well-ventilated area to avoid inhaling fumes.
- Keep a damp cloth nearby to wipe away excess glue immediately.
These tricks may seem simple, but they can make a huge difference in the final outcome.
Ensuring Long-Lasting Results
One of the biggest concerns with glued jewelry is durability. To ensure your repairs stand the test of time:
- Choose high-quality adhesives specifically designed for jewelry.
- Follow the manufacturer’s instructions carefully.
- Avoid exposing repaired jewelry to water or harsh chemicals, as this can weaken the bond.
With proper care, your glued jewelry can last for years to come.
Safety Precautions When Working with Adhesives
While most adhesives are safe to use, it’s always smart to take precautions:
- Wear gloves to protect your skin from irritation.
- Work in a well-ventilated area to minimize exposure to fumes.
- Keep adhesives out of reach of children and pets.
By prioritizing safety, you can enjoy crafting without worrying about potential risks.
Conclusion: Your New Jewelry Repair Skills
And there you have it—a comprehensive guide on how to glue jewelry like a pro. From choosing the right adhesive to avoiding common mistakes, you now have all the tools and knowledge you need to tackle even the trickiest repairs.
So go ahead and give it a try! Whether you’re fixing a beloved heirloom or creating a new piece of jewelry, your newfound skills will serve you well. Don’t forget to share your success stories in the comments below, and check out our other articles for more crafting inspiration.
Happy crafting, and remember: sometimes the best solutions are the simplest ones!