Remote IoT setups using a Raspberry Pi behind a router can be a game-changer for tech enthusiasts and professionals alike. As technology advances, the need for efficient remote management of IoT devices grows exponentially. This article will explore the best methods to set up a free remote IoT system using Raspberry Pi behind a router in 2021.
Setting up a remote IoT system is no longer a complex task reserved for tech experts. With the right tools and knowledge, anyone can create a robust and secure system. This guide will walk you through the process step-by-step, ensuring you understand the nuances of remote IoT configurations.
In this article, we’ll delve into the essentials of creating a free remote IoT system, ensuring your Raspberry Pi is securely configured behind a router. By the end of this guide, you’ll have the skills and knowledge to implement a reliable remote IoT setup tailored to your needs.
Read also:Cocowillow Playsuit The Ultimate Guide To Stylish And Comfortable Outfits
Understanding Remote IoT Behind Router Raspberry Pi
Remote IoT setups have become increasingly popular due to their flexibility and cost-effectiveness. When setting up a Raspberry Pi behind a router, it’s crucial to understand how data flows between devices. This section will cover:
- What is IoT and its importance.
- Why Raspberry Pi is ideal for remote IoT setups.
- Key considerations when placing a Raspberry Pi behind a router.
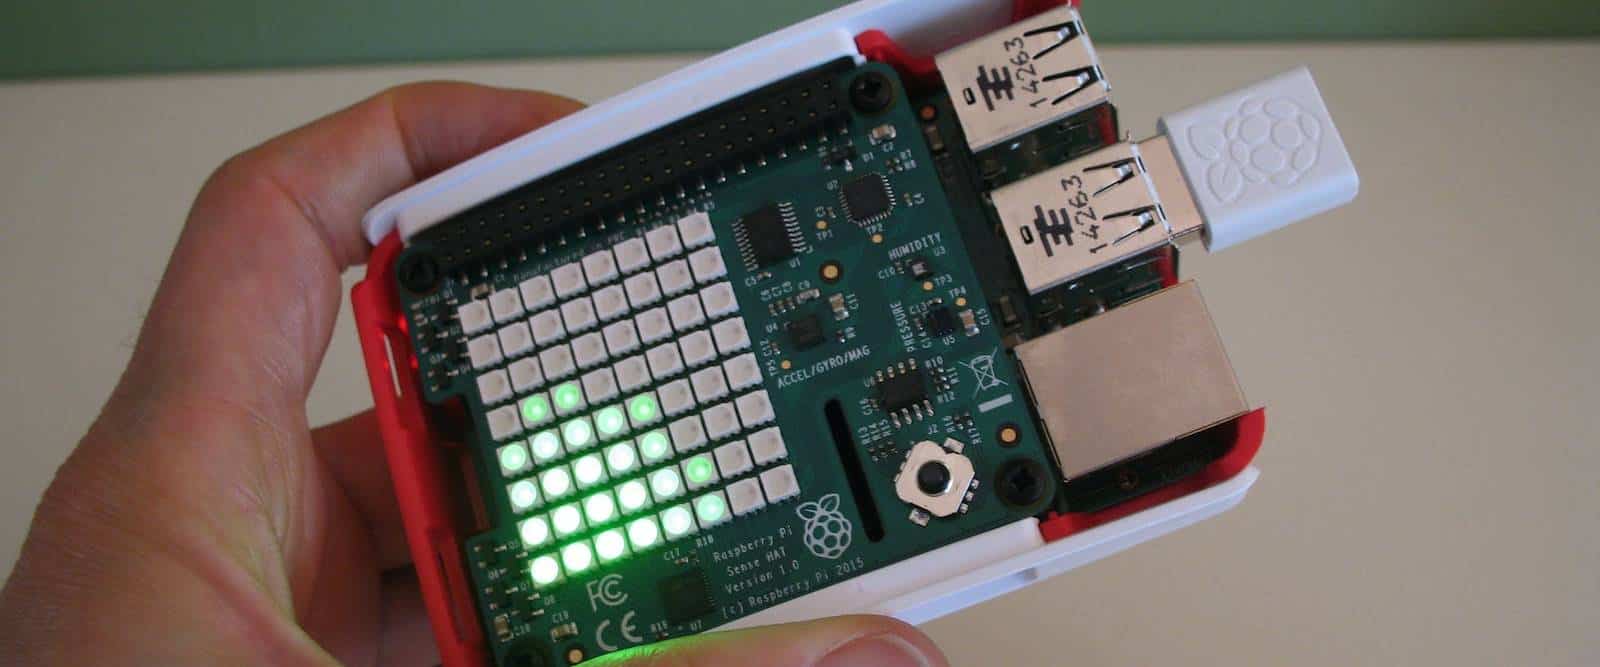
Raspberry Pi is a powerful yet affordable single-board computer that serves as the backbone of many IoT projects. It’s equipped with the necessary hardware and software capabilities to handle complex tasks while maintaining affordability.
Key Benefits of Using Raspberry Pi for Remote IoT
Using Raspberry Pi for remote IoT applications offers numerous advantages:
- Cost-Effective: Raspberry Pi is an affordable solution for building IoT systems.
- Scalability: You can expand your IoT network as needed without significant investment.
- Community Support: A vast community of developers provides resources and support.
These benefits make Raspberry Pi an ideal choice for hobbyists and professionals alike. The flexibility and ease of use further enhance its appeal.
Why Choose Raspberry Pi for Remote IoT in 2021?
In 2021, Raspberry Pi continues to dominate the IoT landscape due to its:
- Improved hardware capabilities.
- Wide range of compatible software solutions.
- Enhanced security features.
These features ensure that Raspberry Pi remains a top choice for remote IoT setups, even as technology evolves.
Read also:How Tall Is Ben Affleck Exploring The Actors Height And More
Setting Up Your Raspberry Pi for Remote IoT
Setting up your Raspberry Pi for remote IoT involves several key steps:
- Installing the operating system.
- Configuring the network settings.
- Securing your Raspberry Pi.
Each step is critical to ensuring your system runs smoothly and securely. Proper configuration minimizes risks and maximizes performance.
Installing the Operating System
The first step in setting up your Raspberry Pi is installing the operating system. For remote IoT applications, we recommend using Raspberry Pi OS, which is optimized for such tasks. Follow these steps:
- Download the Raspberry Pi Imager tool.
- Select the Raspberry Pi OS image.
- Write the image to your SD card.
This process ensures your Raspberry Pi is ready for the next steps in your IoT setup.
Configuring Network Settings
Configuring the network settings is crucial for a successful remote IoT setup. This involves:
- Setting up a static IP address.
- Enabling SSH for remote access.
- Configuring port forwarding on your router.
By completing these steps, you ensure your Raspberry Pi can communicate effectively with other devices on your network.
Setting Up a Static IP Address
A static IP address ensures your Raspberry Pi maintains a consistent network identity. Follow these steps:
- Open the terminal on your Raspberry Pi.
- Edit the dhcpcd.conf file.
- Assign a static IP address.
This setup simplifies network management and enhances reliability.
Securing Your Raspberry Pi for Remote IoT
Security is paramount when setting up a remote IoT system. Key security measures include:
- Changing default credentials.
- Installing a firewall.
- Regularly updating your system.
Implementing these measures protects your Raspberry Pi from potential threats and ensures your IoT system remains secure.
Best Practices for Securing Your Raspberry Pi
To further enhance security, consider the following best practices:
- Use strong, unique passwords.
- Enable two-factor authentication.
- Limit SSH access to trusted IP addresses.
These practices provide an additional layer of protection for your remote IoT setup.
Exploring Free Tools for Remote IoT
Several free tools can enhance your remote IoT setup. Some of the most popular include:
- MQTT for message brokering.
- Node-RED for visual programming.
- Home Assistant for smart home integration.
These tools simplify the development and management of IoT systems, making them accessible to users of all skill levels.
MQTT: The Backbone of IoT Communication
MQTT (Message Queuing Telemetry Transport) is a lightweight protocol ideal for IoT applications. Its features include:
- Low bandwidth usage.
- High reliability.
- Support for multiple devices.
Integrating MQTT into your Raspberry Pi setup enhances communication efficiency and scalability.
Optimizing Performance for Remote IoT
Optimizing performance is essential for a successful remote IoT setup. Strategies include:
- Minimizing resource usage.
- Implementing efficient data processing techniques.
- Regularly monitoring system performance.
By focusing on optimization, you ensure your Raspberry Pi operates at peak efficiency, even under heavy workloads.
Monitoring System Performance
Regular monitoring helps identify and address potential issues before they impact your system. Tools like:
- htop for system resource monitoring.
- log2ram for log file management.
- watchdog for system stability.
These tools provide valuable insights into your Raspberry Pi’s performance, enabling proactive maintenance.
Conclusion
In conclusion, setting up a remote IoT system using a Raspberry Pi behind a router is an excellent choice for anyone interested in IoT applications. By following the steps outlined in this guide, you can create a secure, efficient, and scalable system tailored to your needs.
We encourage you to share your experiences and insights in the comments below. Additionally, explore other articles on our site for more tips and tricks to enhance your IoT projects. Together, let’s build a smarter, more connected world!
Table of Contents
- Understanding Remote IoT Behind Router Raspberry Pi
- Key Benefits of Using Raspberry Pi for Remote IoT
- Why Choose Raspberry Pi for Remote IoT in 2021?
- Setting Up Your Raspberry Pi for Remote IoT
- Configuring Network Settings
- Securing Your Raspberry Pi for Remote IoT
- Exploring Free Tools for Remote IoT
- Optimizing Performance for Remote IoT
- Conclusion
References: